Painting a footslogging marine army in very little time. A month sounds reasonable until you look at my wife and I's schedule til then... UGLY! Never the less I really feel like churning something out.
With that I present you with the Sons of Horus...

I've done the Black Legion and I have the parts to do a pre-heresy Luna Wolves army (including custom shoulder pads)... I am looking to churn out something in between. Heresy era Sons of Horus. I pulled out my old copy of Space Marine (the original epic game) and the pictures are nothing short of inspirational. I used to stare at those pictures and read the little stories over and over as a kid. Looking at the rules just inspired me all over again.
Now I pulled out my marines and discovered I have an entire Rogue Trader era marine army is bitz. All metal that is. Not one plastic marine (except for a few scouts)...
Here is an old page from dwarf that shows what I mean:

Now I have found a really good easy paint scheme that matches the middle of the road fluff. Sons of Horus were originally black with green according to Space Marine. Then they turned metallic sea green in the codex articles in Dwarf. On the cover of the new Heresy novels they are grey... I am leaning towards the metallic green.
Here is the guide I like:
http://www.mywargame.com/2010/03/20/painting-metallic-pre-heresy-sons-of-horus/
Anywhoooo. I am thinking lots of foot sloggers but I do have RT land raiders, rhinos, a dread and a land speeder.
List to come soon.
B
Below is the painting guide mentioned above:
The Luna Wolves, and their later incarnation as the Sons of Horus, are one of the First Founding Space Marine Legions who get a lot of attention from pre-Heresy fans. Despite this, there is little official material from GW by way of a guide to their appearance. As the Sons of Horus, we’ve got no officially-painted miniatures and a handful of textual and artistic references.
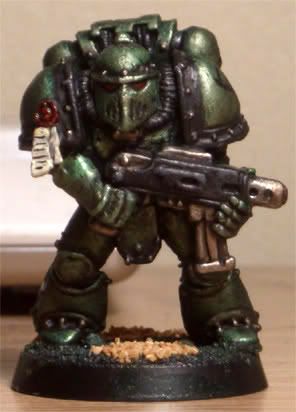
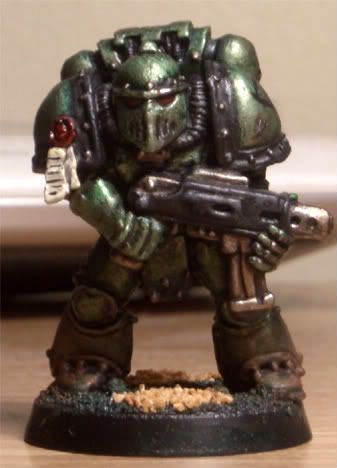
My inspiration comes from the illustration in the Index Astartes article and a handful of references to the armour being a ‘metallic sea green’ in colour. I should mention that I've since seen a handful of examples painted using a Vallejo colour which is a very close (non-metallic) match for the Index Astartes illustration and looks good, although the precise name of the colour escapes me. The Collected Visions art books depict them in various tones, from pale green through green-grey to a very dark, almost black grey tone. I suppose one way to look at this is it leaves a lot of freedom for us to interpret things our own ways.
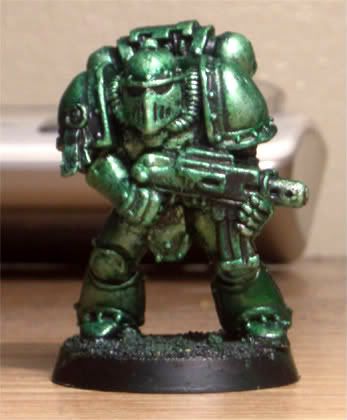
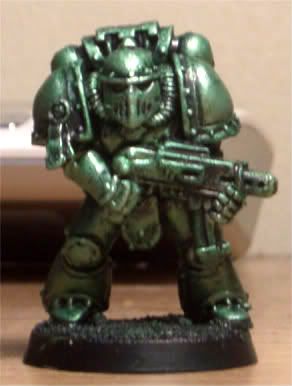
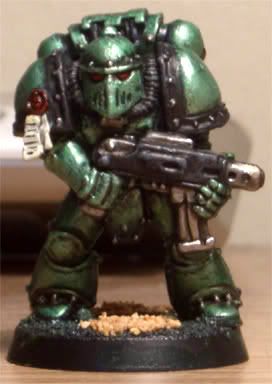
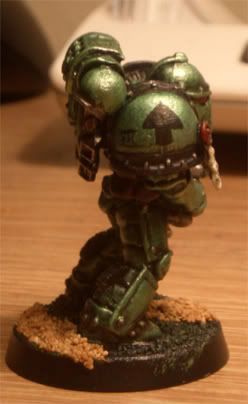
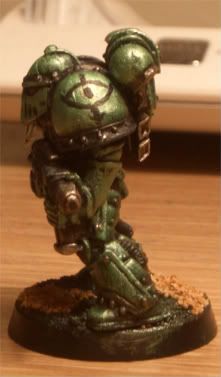
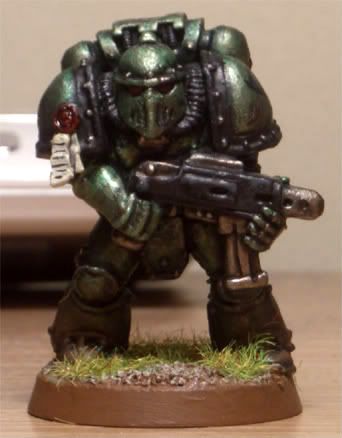
Here I’ve painted one of the classic Mark III ‘Iron’ armour models, with a plastic oath paper (purity seal) glued onto one shoulder pad. In hindsight this may not have been the best choice, as the casting is quite old and some detail is eroded, but hopefully you’ll agree that the method works well enough. It’s also quite fast, so you can assembly-line the painting to a reasonable degree.
I painted this using Citadel paints from GW; I actually started this figure with the old inks before I'd got the current range of washes (this style of painting was what inspired the metallic Thousand Son which I previously posted), although I've painted a few more and you get the same effect with the new washes, so I've used the names of the current paints for ease-of-use. Anyway, on to the pictures! (Camera’s not great, but I’ve done my best.)
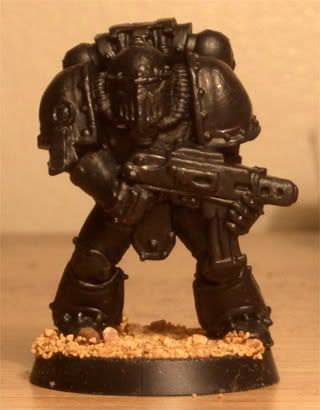
- Prime the model in black. Inclement weather means I did this by hand, but I’d recommend a spray primer for a smooth finish.
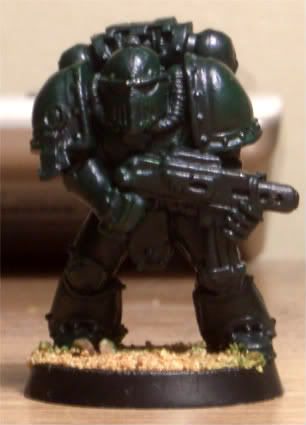
- Basecoat the armour with Dark Angels Green. I used a tank brush for this; it doesn’t have to be neat.
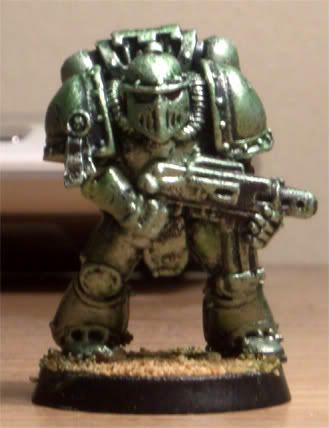
- Now we’re into highlighting. Mix about 1:1 Dark Angels Green and Mithril Silver and heavily drybrush the armour. After this, drybrush a further highlight with almost pure Silver. If you have more time or patience you could either layer highlights or use more shades when drybrushing, but I like to be quick. The model should look more silvery at the end of this stage than you want it to when finished.
- And now some shading! I use an approximately 1:1:1 mix of Dark Angels Green, Dark Green Ink (try Thraka Green with the new washes) and Blue Ink (try Asurmen Blue), slightly thinned. Apply a thick coat over all the armour to deepen the colour. Sometimes I apply a second wash of this, if it is still too pale. Tank brush time again, again.
- Now I paint on a highlight to cover any raised or particularly uneven areas. I mix Mithril Silver and Dark Green Ink to get a pale colour best described as ‘minty’, and paint it on lightly with a small drybrush or a fine detail brush depending on the area in question.
- Now we paint all the easy stuff. Black is Chaos Black, highlighted with Adeptus Battlegrey. Red is Mechrite Red, highlighted with Blood Red and then washed with a mix of Chestnut and Black Inks (or Devlan Mud ). The oath paper is Scorched Brown, highlighted with Bleached Bone and Skull White with Chaos Black lettering. Brown stuff is Scorched Brown, highlighted with Dark Flesh and then shaded with the Chestnut/Black Ink mix (or Devlan Mud). Metal is Boltgun Metal, highlighted with Mithril Silver, then shaded with an ad-hoc mix of browns and black.
- Some icons. The right pad gets a Tactical arrow and III in Roman numerals. The left gets my attempt at a Sons of Horus Legion badge. These are both freehanded in Chaos Black with a fine detail brush.
- Next, some weathering. This and the battle damage are inspired by Iacton and Apologist. The whole model is coated with a slightly thinned layer of Devlan Mud, which makes the armour look slightly worn and discoloured.
- Here we add a little battle damage. Look, for example, at his left hand, shoulder pad or eye. The effect is for armour that’s chipping off. Paint a little Scorched Brown over places where the paintwork might flake (e.g. the rims of armour plates), and then Chaos Black thinly over most of this. Then dab over the Chaos Black with Boltgun Metal. You can then add mud to the lower legs: drybrush with Dheneb Stone, and then Scorched Brown.
- Base and you’re done! I use Calthan Brown, drybrushed with Bleached Bone, and finish with some static grass.

No comments:
Post a Comment